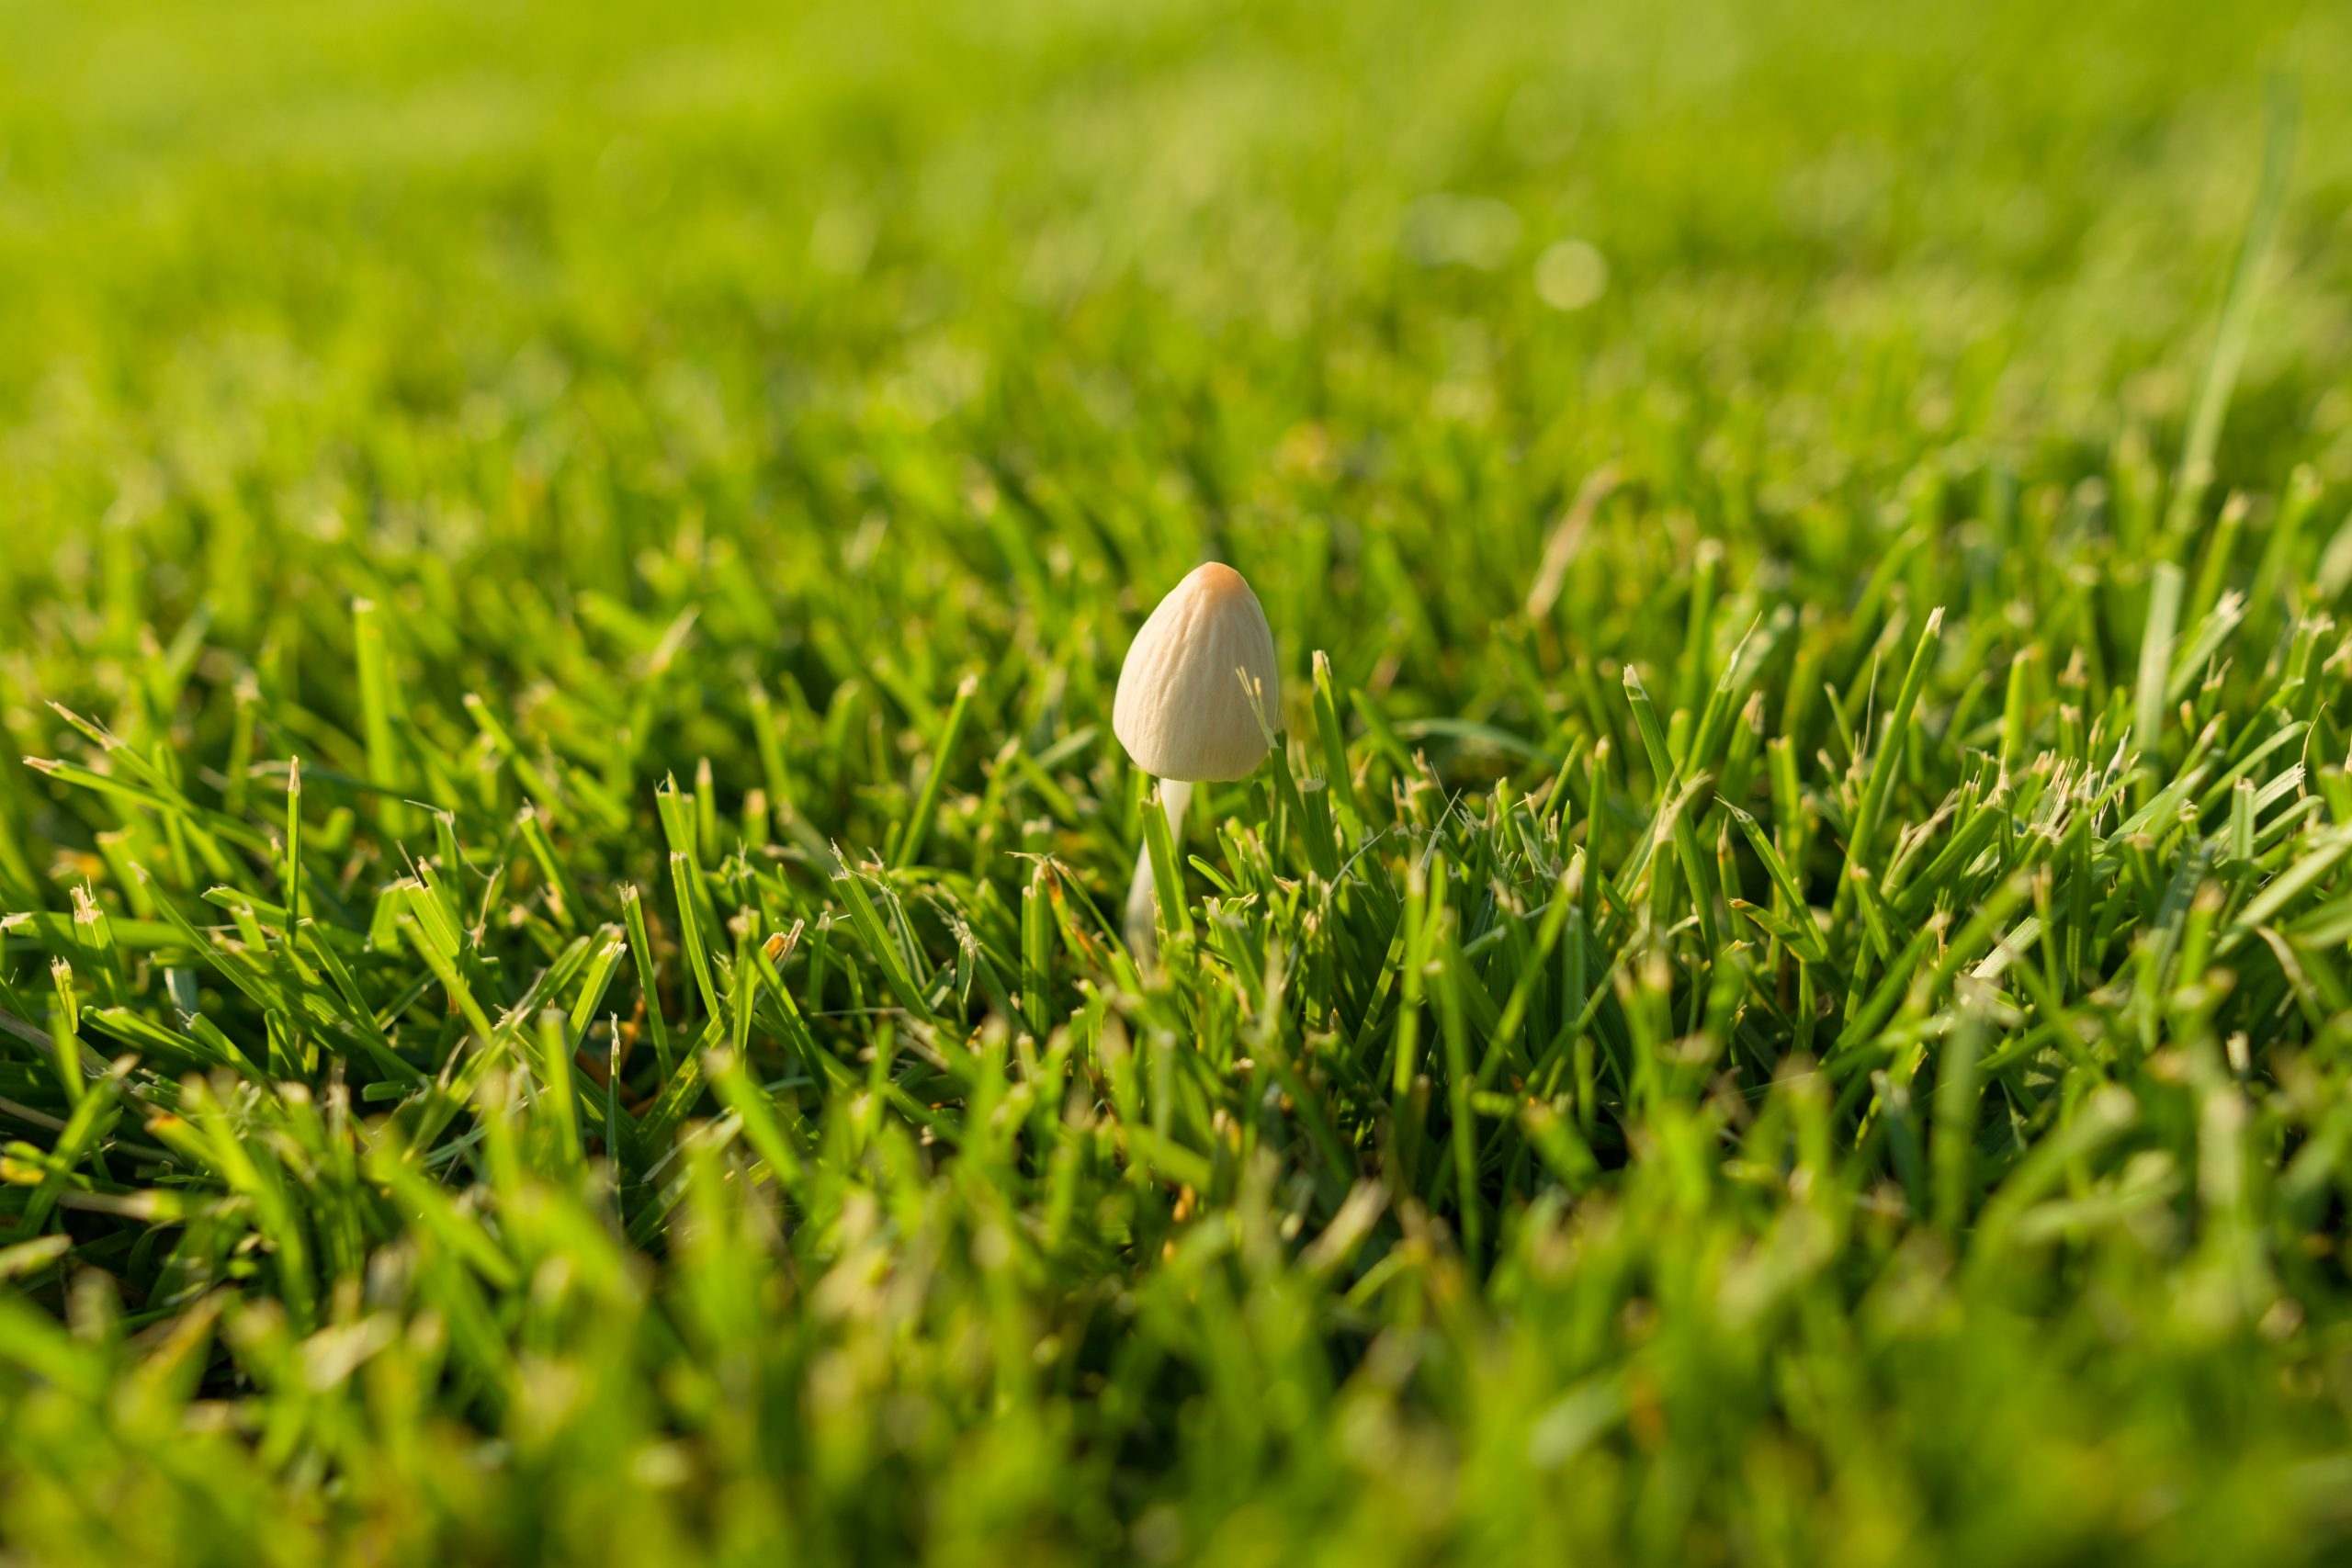

Buffalo grass is one of the most popular trends in gardening today. It has experienced an astronomical rise to popularity in Australia where its hard-wearing nature and soft, luscious appearance have made it a firm favourite for many. One of the most popular Buffalo grasses available is Matilda grass, as it encompasses the majority of the features that Buffalo grass is known for and is frequently seen as a sign of quality. One of the most common ways to purchase Matilda lawn is as turfy, that way you know that you are getting Matilda lawn fresh from a grass farm and in top condition, ready to be laid. This is, however, not the only way of getting Matilda lawn or indeed any type of Buffalo grass as you can purchase them as seeds that you can sow yourself. This is of course a far more time-consuming process, but it can be significantly cheaper and more rewarding if you handle the process correctly by following these basic steps.
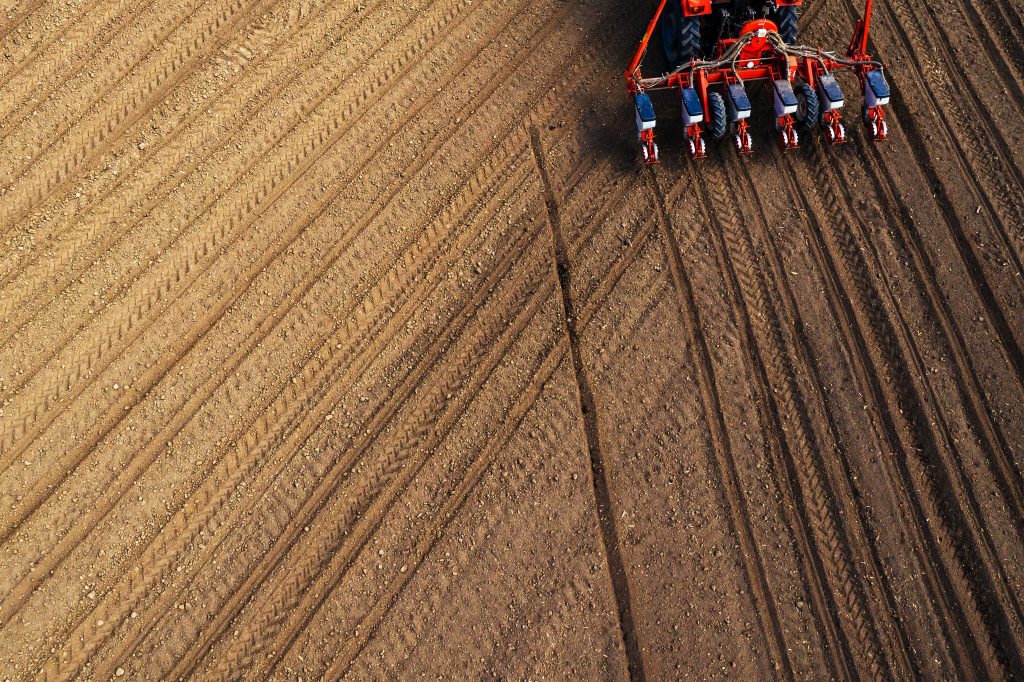
1 – Prepare the soil
Make sure you know the area you are aiming to grow a lawn in and mark it out using string and ground pegs if you need to. Your first task is to turn over the soil to a depth of at least 15cm, ensuring that you remove all of the rocks, stones, and especially weeds as you go. If need be, use weed killer on the soil now, and then once you are happy, water the soil thoroughly and then leave it for a few weeks to make sure that there is no regrowth from the weeds before moving on.
Take this opportunity to also level off any lumps or dips in your garden whilst ensuring that there is nowhere that water is gathering. This is especially important if you can test for it as soil that becomes waterlogged will encourage the growth of weeds as well as the potential to kill your grass.
2 – Sow your seed
Get your soil ready for sowing by raking straight lines through the soil and it is always worth spreading some fertiliser to help get the seeds started. The best tactic for sowing the seed in a criss-cross pattern, by first separating your seed in half and then sowing one-half top to bottom and then the other half left to right. This provides a good distribution of seeing across the area you wish to grow your lawn in and provides the seed with a fantastic chance to take root properly.
Now the seeds are in the soil you should cover them with a light raking of the soil to bury them just under the surface and then water the entire area with a fine mist of water to help them bed in slightly.
3 – Maintenance
Keep applying a watering of a fine mist twice a day for as long as it takes for the seeds to start sprouting through the soil. It is important during this time that you keep everyone off of the area so that they don’t disrupt the seed’s growth and damage them. It is also important that you ensure that a mist is used to water in the seeds until the lawn is fully established as the pressure that water can shoot out of a hosepipe under is more than enough to more the soil. If this happens the seeds will be knocked around and potentially damaged during their sprouting and cause patches in your lawn. It is recommended that you aim to keep the soil slightly moist during the germination period of your lawn so that the seeds have the best chance to establish themselves. Be careful not to overwater your lawn though as this can be just as damaging as not watering it enough.
It will not be long before your lawn establishes itself and begins to thrive. It is important that you do not cut it too soon or too short as this can be very damaging to the plant, so let it grow for a while and then only cut it a little bit until it is firmly settled in. By the following year, all your hard work will have paid off and you will have a beautiful Matilda lawn, just as if you had bought turf, but with the added satisfaction of knowing that you put all the hard work in yourself and have grown and cared for this lawn.
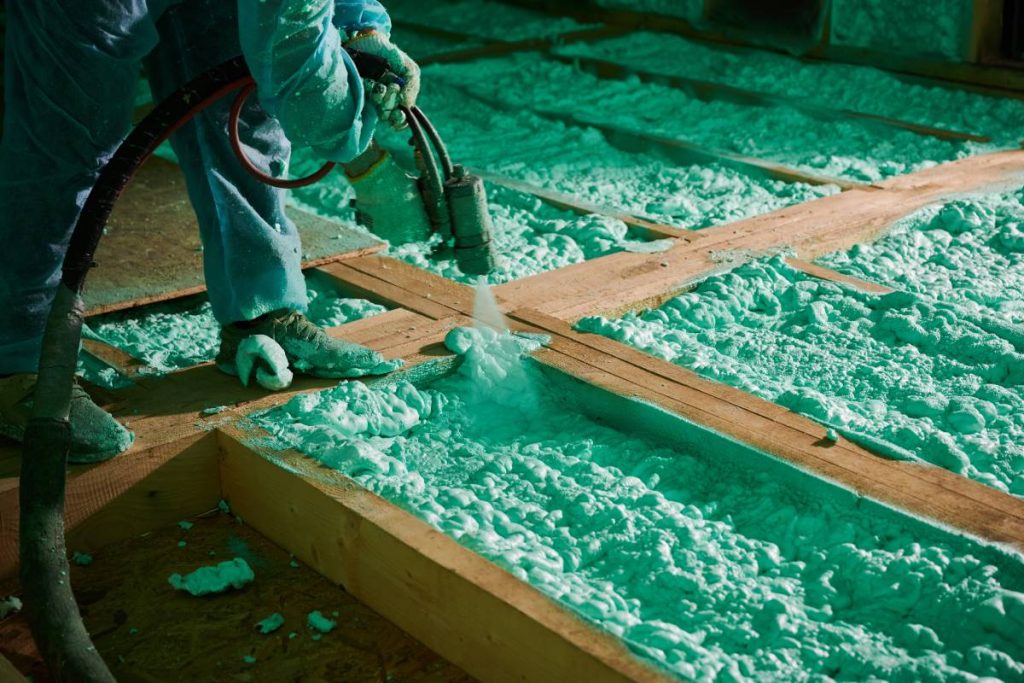
What is spray foam insulation? How much does underfloor insulation cost in Australia?

Is it better to keep a freezer full or empty? What is the best thing to clean the inside of a fridge with?
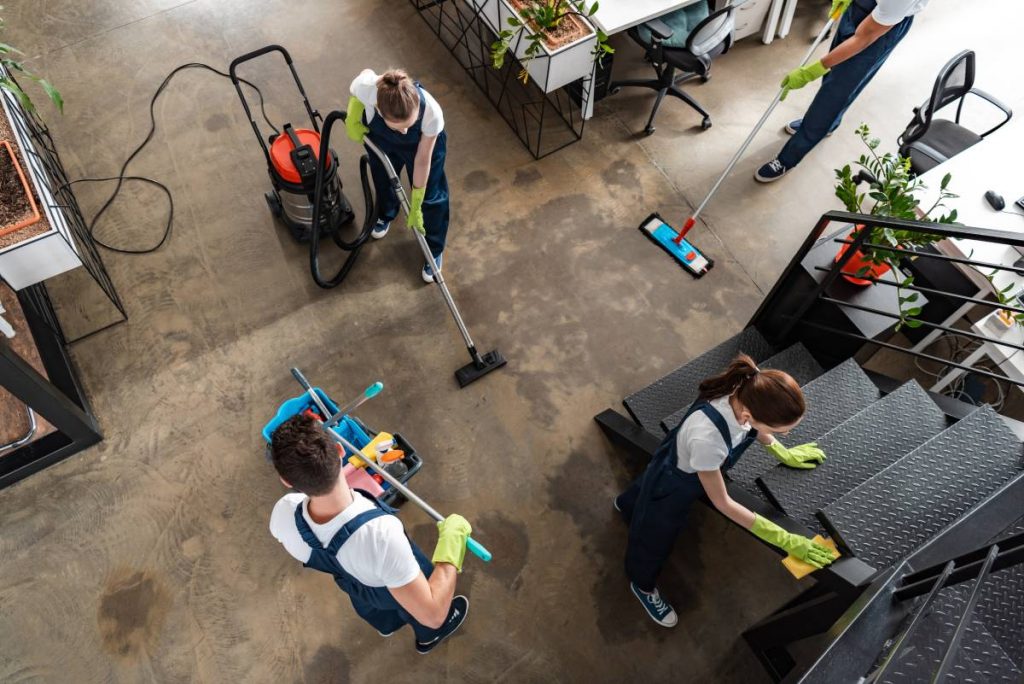
What’s the main reason for cleaning? Why is cleaning important?

What is the cheapest way to floor? Which option is the most durable, waterproof, scratch resistant, and easy on your feet?

How much do Australians waste food every year? What are the impacts of food waste on the environment? How we can help reduce food waste?
Aftermarket exhaust vs. OEM: Which one is better for your mining machinery?

History of Denim and Jeans: What Makes Jeans and Denims Popular Throughout History?